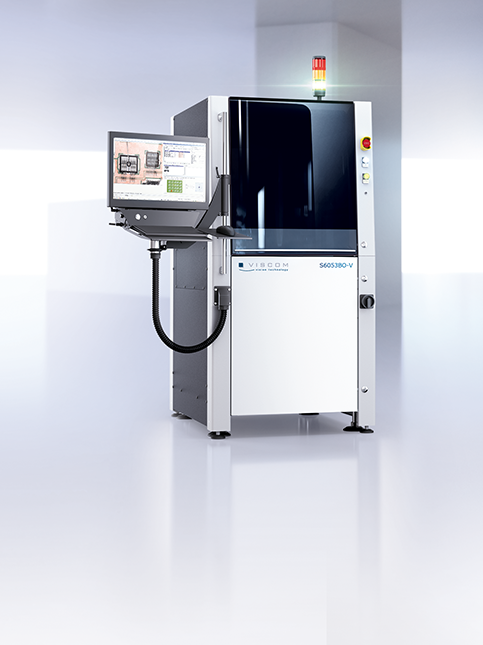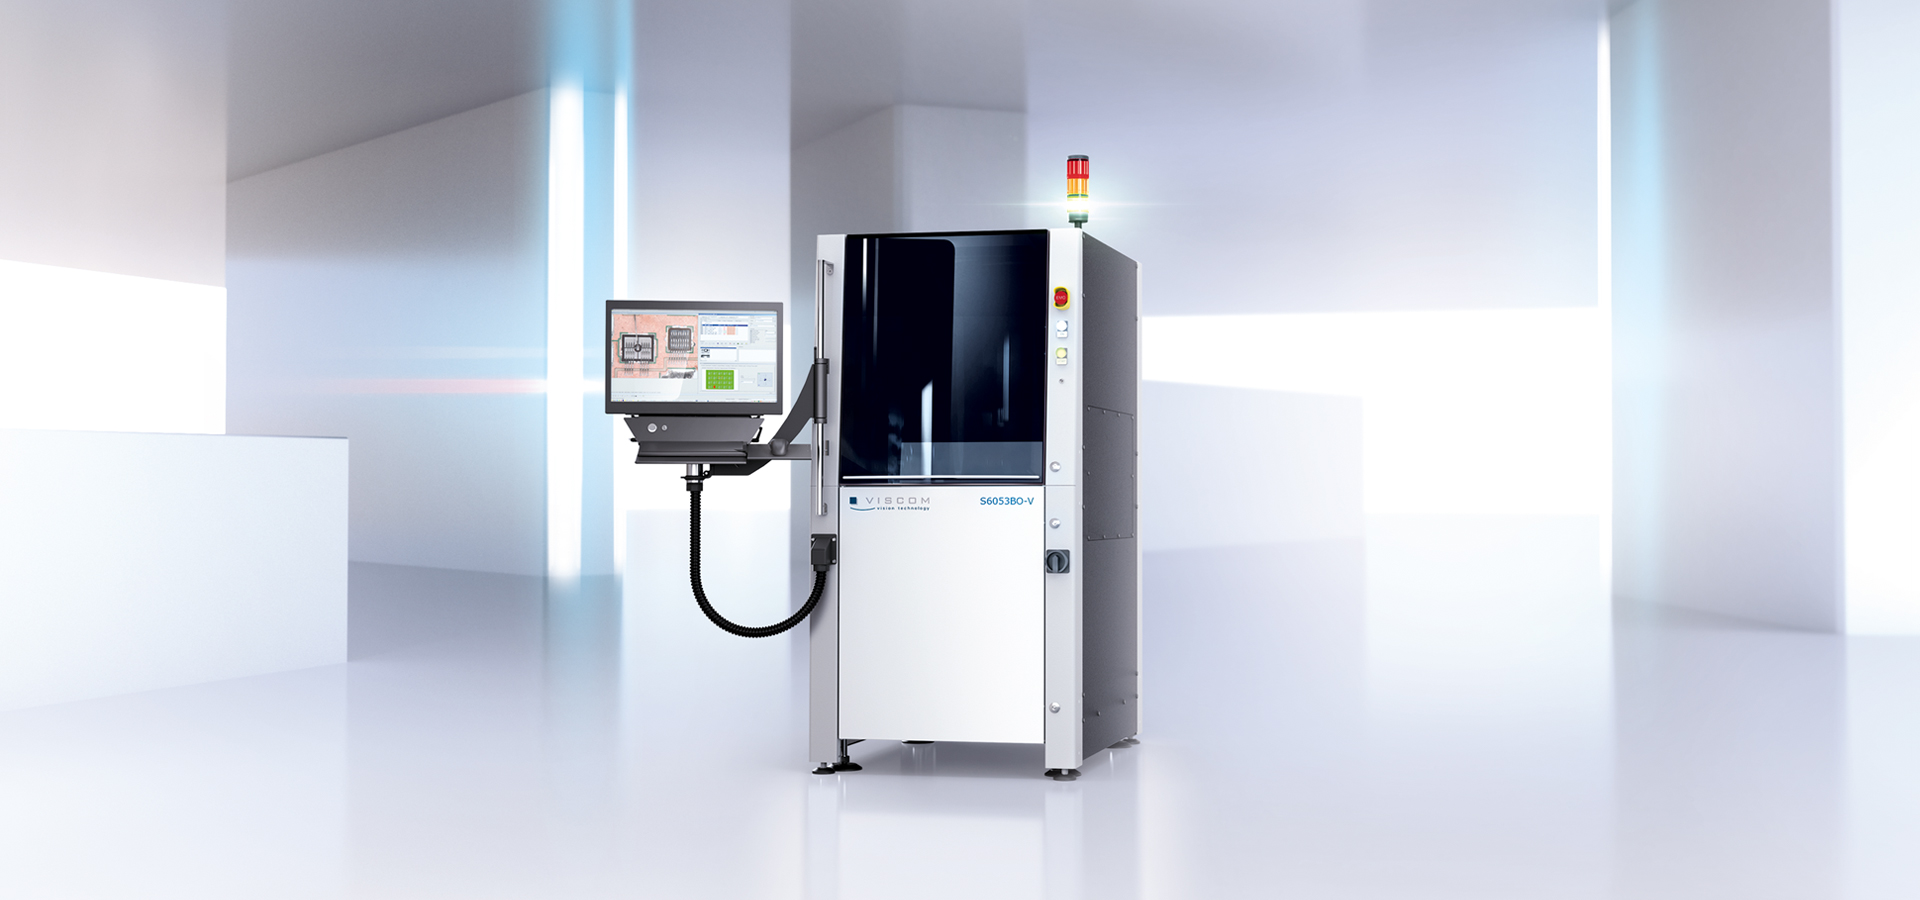
S6053BO-V: Reliable 2D and 3D Wire Bond Inspection
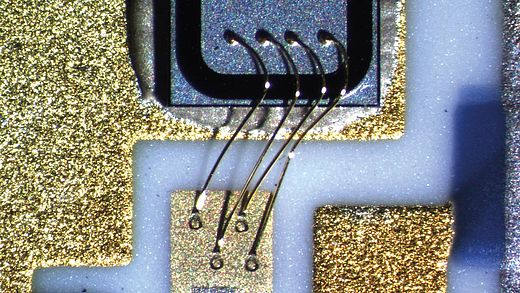
The smaller the inspection objects, the more important precision and repeat accuracy are in the inspection. Manufacturers of high-end electronics who place special requirements on the safety of their products rely on these factors in particular. The Viscom S6053BO-V system gives you this certainty by combining the latest 3D measuring technology methods with long-standing experience in wire bond inspection. Additional sophisticated imaging developments are available for highly reflective wires, in addition to the familiar fringe projectors, guaranteeing reliable quality assurance in the bond process. Viscom’s inspection algorithms inspect thin wires, thick wires and ribbons with equal precision. Proven many times over, our system for 2D and 3D wire bond inspection can also be integrated in complex network environments.
Inspection Scope
- Targeted configuration: Maximum resolutions including height information
- Custom handling options
- Suitable for dual-track operation
- Camera modules for flexible application scenarios
- Unique analysis of bonding wires and ribbons in all common materials and strengths
- Integrated verification
- Scalable, modular camera technology and 3D measuring function
- Global libraries, global calibration: Transferability to all systems
- Intelligent software add-ons such as waffle imprint inspections for ribbons, integrated verification
- Traceability, offline programming, statistical process control
- Communication with MES systems
- Independent real-time image processing with Viscom analysis tools
- High-performance OCR software
| Wires: | Up to 20 µm diameter, all common materials, bending, course, height profile |
| Wedges and balls: | Deformation, positions, contaminations |
| Ribbons: | Waffle imprint and loop course |
| Conductive adhesive and assembly inspection | |
| Defects/defect features: | Wedge and ball deformations, offset and lifting, wire courses and bending, conductive adhesive leaks, chip position and rotation. Component identification, edge chipping, etc. |
| Optional: | Free area analysis, color ring analysis, wobble circle error, solder ball/solder sputter |
| DIMENSIONS | |
| System housing | |
| 813 mm x 1715 mm x 1055 mm (W x H x D) | |
| INSPECTION | |
| Camera technology: | XM bond in different variants, XMplus |
| Inspection processes: | 2D, 3D |
| Megapixel : | Up to total of 2x 25 |
| Orthogonal camera: | Up to 2.5 μm resolution – others upon request |
| Field of view size: | Depends on camera technology |
| HANDLING | |
| PCB dimensions : | Up to 300 mm x 300 mm – also available with custom transport systems and workpiece carrier fixation |
| SOFTWARE | |
| User interface: | Viscom EasyPro |
ADVANTAGES AT A GLANCE
- Future-looking 3D technology
- Long-term investment security
- Highly flexible configuring capability, even with project-specific requirements
- Excellent image quality thanks to high resolution and sophisticated lighting
- Ideal for demanding inspection tasks
Download
Find the right products for your needs:
System Configurations and Options
Customer Feedback

“We chose an AOI system from Viscom several years ago when converting from manual to automatic inline inspection of wire bonds. The positive experience of avoiding undetected defects and optimizing our entire manufacturing process at the same time has led us to update this wire bond inspection system, which will be equipped with the latest camera technology. This enables us to conduct optimal inspections of new electronic assemblies in the microelectronic field, such as 5G components, and to meet the tougher challenges of higher volume, greater product diversity and ongoing miniaturization.”

